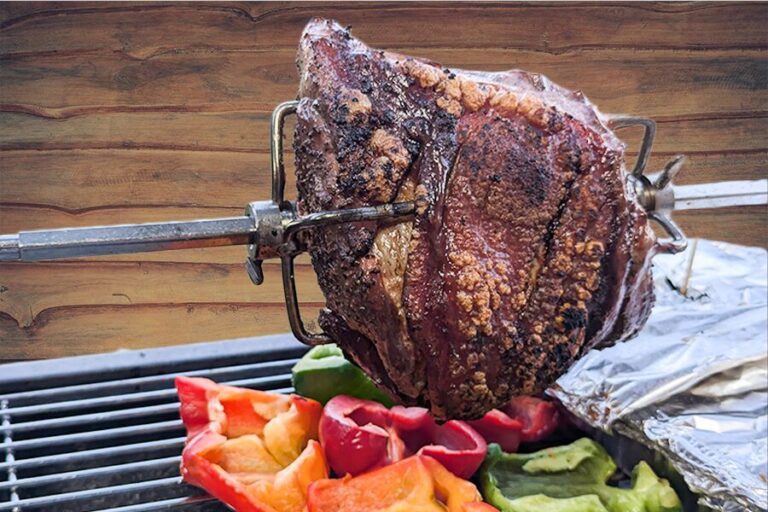
Keeping Rotisserie Meat Juicy and Tasty
When you’re prepping rotisserie meat, keeping it juicy and tasty is a must. I’ve discovered a few tricks with marinating and basting that really boost the flavor and juiciness, preventing rotisserie meat drying out. Let’s dig in.
Marinating Magic
Marinating changes the game. It’s all about soaking your meat in good stuff to add flavor and moisture. I usually mix things up with an acid (like vinegar or lemon juice), oil, and some seasonings. Here are some go-to marinade ingredients:
| Ingredient | What It Does |
|---|---|
| Olive oil | Adds moisture and richness |
| Lemon juice | Tenderizes and adds zing |
| Soy sauce | Gives that umami punch |
| Garlic | Cranks up the flavor |
| Herbs/Spices | Puts a unique twist on taste |
To avoid dried-out meat, I let it marinate for a few hours—overnight if I’ve got time. This lets all those flavors soak in and keeps the meat moist. Using moist cooking methods, like slow cooking, can also help your rotisserie game and prevent rotisserie meat drying out. And hey, keep an eye on the meat temp with a thermometer to avoid overcooking (Allegro Marinades).
Basting Basics
Understanding how to prevent rotisserie meat drying out is essential for a delicious meal.
Basting is like the secret sauce for juicy rotisserie meat. It keeps the moisture and flavor locked in. The rotisserie itself does some self-basting as it spins, letting the juices and fats work their magic.
Here’s how I do it:
Keep It Regular: I baste every 30 to 45 minutes. This stops the outer layers from drying out.
Basting Mix: I use the leftover marinade, some melted butter, or tasty liquids like broth. This keeps the meat juicy and adds even more flavor.
Technique Matters: While the meat is spinning, I use a basting brush or syringe to spread the mix evenly. That rotation helps the drippings and heat circulate, making sure everything is seasoned and moist (Napoleon).
Combining these marinating and basting tricks can almost guarantee your rotisserie meat stays juicy and full of flavor. Got more rotisserie problems? Check out my tips on rotisserie flare-ups and uneven browning.
Keep Your Meat from Turning into Leather
Use a Meat Thermometer
Grilling rotisserie meat without a meat thermometer? That’s like going on a road trip without a GPS. A trusty thermometer stops your juicy meats from morphing into sad, dry hunks. Keeping tabs on the meat’s internal temperature is my secret weapon for deliciously succulent rotisserie meat every time.
Ideal Temperatures
Check out these golden temperature rules for perfect meat doneness:
| Meat Type | Temp (°F) |
|---|---|
| Chicken (whole) | 165 |
| Pork | 145 |
| Beef (medium) | 160 |
| Lamb (medium) | 145 |
Always stick the thermometer into the thickest part of the meat, but steer clear of bones—they can mess with your reading. Hitting these temps means goodbye dry meat, hello juicy goodness.
Thermometer Tips
- Pick the Right Tool: I swear by digital instant-read thermometers. They’re quick and spot-on.
- Insert Correctly: Get that thermometer right into the thickest chunk of meat.
- Frequent Checks: I start checking around 15-20 minutes before the meat’s supposed to be done. Better safe than sorry, right?
- Let It Chill: Once off the rotisserie, let the meat rest a few minutes. This way, the juices have time to spread out evenly.
Mastering the use of a meat thermometer knocks out the dry-meat drama. Keeping an eye on your temps not only amps up your cooking confidence but also transforms your meal into a flavor bomb. Practice a bit, and you’ll be the king of rotisserie cooking.
Got more grill grief? Don’t sweat it! Peek at my other guides on troubleshooting rotisserie flare-ups, fixing rotisserie uneven browning, and troubleshooting rotisserie burner problems to make sure your setup nails it every time!

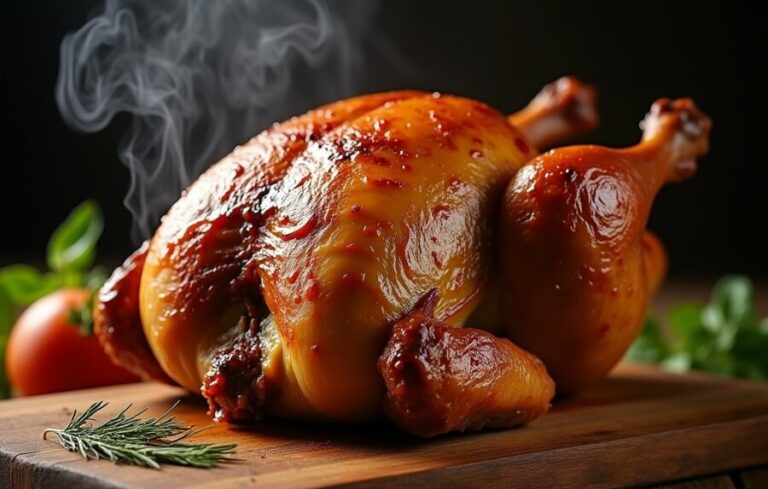
Getting Juice, Flavor, and Crunch Out of Your Rotisserie Chicken
Cooking rotisserie chicken at home can transform your dinner game entirely. With a sprinkle of genius techniques, you can conquer that juicy, flavorful bird right in your kitchen. Here’s how I consistently avoid the dreaded dry meat and messy grills. Let’s dive in.
Trussing Tricks
Forget twine. Using the chicken’s own skin for trussing is not only easier but also a game-changer. Who needs extra work? Securing the wings and legs without twine simplifies your life and keeps the bird cooking evenly. It stops those limbs from overcooking and ending up dry. Trust me, it’s the secret sauce to a juicy, well-cooked bird.
Managing Those Drippings
Nobody enjoys a greasy mess or flare-ups, right? I always place a metal pan under my spinning chicken to catch all those precious drippings. No messy grills here! Plus, those bits of flavorful gold make the best homemade gravy you’ve ever tasted.
| Step | Action |
|---|---|
| 1 | Pop a metal pan under your chicken. |
| 2 | Make sure it’s deep enough to catch everything. |
| 3 | Turn those drippings into gravy magic. |
Basting Spray Brilliance
Spooning basting liquid is so old school. Grab a spray bottle and take control. A basting spray keeps the skin from getting soggy and ensures an even, flavorful coat all over your bird. This little trick has saved many a rotisserie chicken from flavor failure.
Foolproof Foil Fix
Spotted a runaway cook on your chicken? Tame those areas with some aluminum foil. Slap it on the overcooking bits to protect them, all without stopping the whole cooking process. A crispy exterior all around is what we’re after, and a bit of foil-fu gets us there. Keep an eye on your chicken and make those foil adjustments as needed.
Using these simple but genius tricks, you’ll get a rotisserie chicken that’s juicy, flavorful, and just darn good every single time. If you run into trouble, like pesky flare-ups, check out more of my guides on handling those rotisserie flare-ups or fixing uneven browning.
Cooking a rotisserie chicken shouldn’t be rocket science. Just spit-roasting magic in your kitchen. Enjoy, and let those flavors rule!
Make Your Rotisserie Meat Irresistibly Flavorful
When it comes to cooking a mouthwatering rotisserie meal, nailing the flavor is key. Two big players in this game? Amino acids and the tasty chemicals naturally lurking in the meat.
Amino Acids: The Flavor Bombs
Amino acids are the unsung heroes of lip-smacking rotisserie meat. Studies show that culinary methods like frying, roasting, and steaming can really kick up the umami and nutrients, especially in meats like silver carp (NCBI).
Now, if you’re wondering which amino acids are doing the most heavy lifting, meet glutamate and aspartate. They don’t just play a role – they steal the show:
| Amino Acid | Flavor Punch |
|---|---|
| Glutamate | Savory umami goodness |
| Aspartate | A hint of sweetness |
Want to supercharge your rotisserie meat’s flavor? Dive into marinades or brines that pack a punch with these amino acids. I’m talking soy sauce, miso, or even a dash of Worcestershire.
Natural Flavor Chemicals: The Secret Sauce
Beyond amino acids, certain chemicals in the meat elevate its natural flavor. In raw silver carp, for instance, it’s all about goodies like methanethiol, 1-octen-3-ol, and 2-heptanone (NCBI). These compounds weave together to create a deep, appealing taste.
Getting these flavors right isn’t just about what’s in the meat – it’s about how you cook it. Techniques like low and slow roasting, giving every bite its fair share of heat, and making sure those flavorful juices stay where they belong can make all the difference.
And here’s a pro tip from my kitchen: herbs and spices are your best friends. Mix and match to find your perfect blend. Not only will your meat taste amazing, but it’ll stay juicy and succulent. If you’re tired of dry rotisserie, here’s a lifesaver.
In a nutshell, focus on those amino acids and flavor bombs. Your taste buds (and your dinner guests) will thank you!
Reheating Rotisserie Chicken
Reheating that rotisserie chicken is a breeze if you know what you’re doing. Let me share some of my secrets to keeping it juicy, tasty, and safe to eat.
Storage and Timing Hack
First off, where and how you store your leftover chicken matters. You should eat your leftovers within 3-4 days to keep ’em fresh and avoid any tummy troubles. If it smells funky or looks weird, toss it—don’t risk it! Keep the chicken in the fridge right after you cook or buy it, and definitely within two hours. Thawing? Do it in the fridge overnight or use your microwave’s defrost setting.
| Storage Method | Best Timeframe |
|---|---|
| Fridge | 3-4 days |
| Freezer | 4 months (best quality) |
Keeping Your Chicken Safe
Make sure it’s heated to the right temp—165°F (74°C)—to kill any nasty stuff hanging around. Use a meat thermometer to check.
- Stick a food thermometer in the middle to make sure.
- If microwaving, cover it with a lid or microwave-safe wrap to keep it moist.
- For the oven, wrap it in foil so it doesn’t dry out.
Following these tips keeps your chicken tasty and safe. Check out my articles on handling rotisserie flare-ups and fixing uneven browning if you hit any snags.
Rotisserie Cooking Tips
When I crank up my rotisserie, I want every bite of meat to burst with juiciness and flavor. Here are some of my top-notch techniques to tackle the pesky problem of rotisserie meat drying out.
Low and Slow Technique
Think of the low and slow technique as your golden ticket. This approach is all about giving your meat the VIP treatment with unhurried rendering and gentle roasting. By keeping the heat low, collagen in the meat has time to break down into luscious gelatin, giving you that tender melt-in-your-mouth goodness. And as the fat slowly melts, it bastes the meat, making every bite lip-smackingly good.
| Cooking Method | Temp (°F) | Time (hrs) |
|---|---|---|
| Low and Slow (Rotisserie) | 225 – 250 | Depends on size |
| High Heat (Indirect) | 350 – 400 | 1 – 2 |
Proper Food Placement
Positioning your food right is just as important. Make sure to secure everything tightly and aim for uniformity in shape, size, and weight. Keeping it consistently even helps avoid issues that can cause bad cooks, and it also eases the load on your rotisserie motor. If it’s off-balance, you risk uneven cooking – and nobody wants to bite into a dry patch.
Flavorful Steam Tray Usage
I never skip placing a tray with some flavorful liquid (think beer, wine, or even stock) under the meat. This creates steam that adds moisture, and wow, does it make a difference! Plus, it catches those precious drippings for gravy-making gold. The steam from the tray keeps everything moist and ensures that the flavors get cozy, infusing your meat with sublime taste.
With these tips, you’re on your way to rotisserie bliss, where every cut of meat is juicy and bursting with flavor. If you run into other issues like flare-ups or a stubborn rotisserie motor, these principles will help make your backyard cooking legendary. Dig in and enjoy!