The Magic of Reverse Sear Steaks
So there I was, endlessly overcooking one side of my steak while the other looked at me, still mooing. Then, I stumbled upon a game-changer: the reverse sear cast iron method. This technique transformed my steak nights from sad charred messes to juicy perfection.
Why Reverse Searing Rocks
Imagine cooking your steak in a low oven (225-300°F) until it’s just right inside, then giving it a high-heat sear for that mouth-watering crust. Boom. Here’s what makes it awesome:
Even Cooking: No more gnawing on dry edges while staring at a raw center. Reverse searing cooks the steak evenly, edge to edge.
Perfect Temperature Control: Fancy a rare steak? Maybe medium-rare? With this method, you nail that perfect doneness every time without playing the guessing game (Sur La Table).
Flavor Explosion: The Maillard reaction—the science-y name for that beautiful browning—kicks in during the final sear, giving you that crispy, flavorful crust we all crave.
Nailing That Perfect Doneness
Precision is everything here, especially for those thick cuts (2 inches or more). It’s all about hitting that internal temperature just right (Kitchen Swagger). Here’s a handy cheat sheet:
| How You Like It | Internal Temp (°F) |
|---|---|
| Rare | 120-125 |
| Medium-Rare | 130-135 |
| Medium | 140-145 |
| Medium-Well | 150-155 |
| Well-Done | 160 and up |
Follow the reverse sear trick and you’ll be cooking like a pro in no time. Need a step-by-step? Check out our detailed guide on how to reverse sear a steak and our reverse sear steak recipe. Trust me, your taste buds will thank you. Happy grilling!
Mastering the Reverse Sear: Juicy Steaks Right at Home
Cookin’ up steaks like a pro at home? It’s simpler than you’d think with the reverse sear method. This nifty technique gets you restaurant-quality steaks without breaking a sweat. Let’s dive into the steps, focusing on a couple of vital parts: the oven roasting and the sear. Trust me, your taste buds will thank you.
Oven Roasting Magic
First off, dial your oven up to 275°F (135°C). Cooking slow and low makes the steak cook nice and even, keeping all those juices right where we want them. A meat thermometer is your best buddy here. It’ll help you nail the perfect doneness. Here’s a quick cheat sheet:
| Steak Thickness | Cooking Time | Target Internal Temperature |
|---|---|---|
| 1 inch | 15 – 20 minutes | 125°F (rare), 135°F (medium-rare), 145°F (medium) |
| 2 inches | 25 – 30 minutes | 125°F (rare), 135°F (medium-rare), 145°F (medium) |
Once your steak hits the sweet spot inside, take it out and give it a breather. Letting it rest for a few minutes is key. It allows the juices to do their thing and spread out, making every bite tender and flavorful.
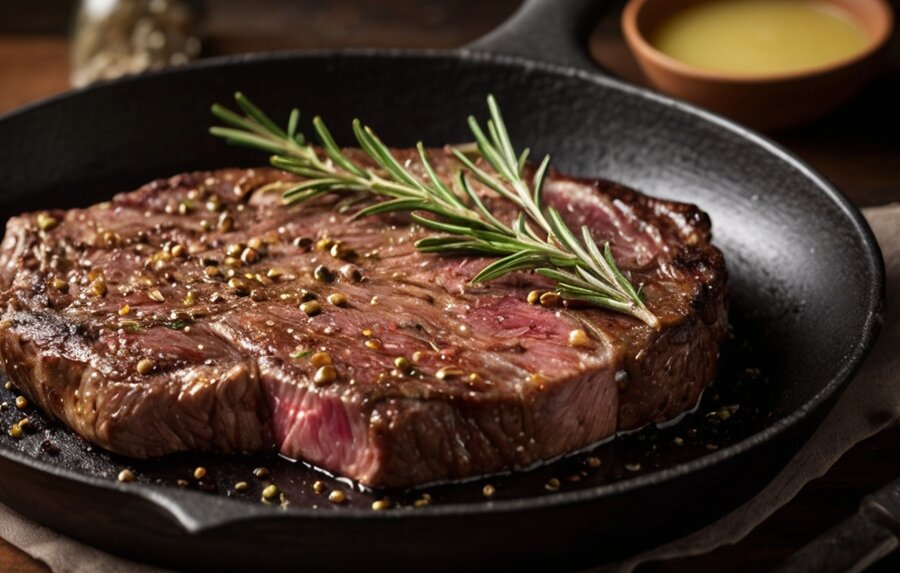
Searing: The Flavor Bomb
Now for the fun part – searing! Crank up the heat on a cast iron skillet until it’s almost smoking. Sear each side for about 1-2 minutes. The goal here is to get that rich brown crust that packs a punch of flavor. This step locks in the goodness and kicks the taste up a notch.
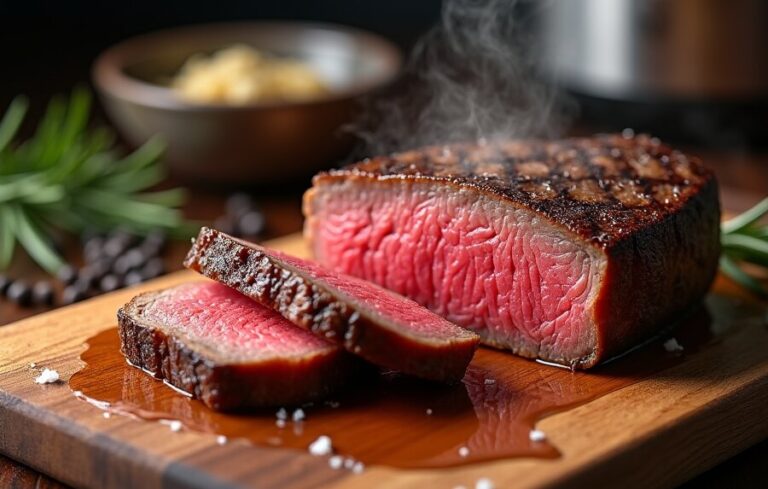
Searing doesn’t just make it prettier—it gives you that perfect contrast of crunchy outside and tender, melt-in-your-mouth inside. Slow roasting breaks down the meat, making it buttery smooth (Sur La Table).
Curious about more tips and tricks? Check out my detailed reverse sear guide for all the juicy details. It took my steaks from meh to amazing, and it’ll do the same for you!
Best Practices for Reverse Searing
Nailing the reverse sear is more than cooking; it’s about picking the right steak and using techniques that boost flavor and tenderness. Here’s how to level up your steak game.
Ideal Steak Cuts
For the reverse sear, thick cuts are your best friends. We’re talking 1 ½ inches or more. Thinner ones? They’ll overcook. Here are your go-to choices:
| Steak Cut | Recommended Thickness |
|---|---|
| Filet Mignon | 1 ½ inches or more |
| Ribeye | 1 ½ inches or more |
| New York Strip | 1 ½ inches or more |
| Porterhouse | 2 inches or more |
| T-Bone | 1 ½ inches or more |
| Tomahawk Steak | 2 inches or more |
These cuts are your ticket to tender, juicy steaks, regardless of the fat marbling (Kitchen Swagger, Jessica Gavin, Tasting Table).
Dry Brining Technique
Dry brining amps up the flavor. It involves salting the steak and letting it rest. Here’s the lowdown:
Salt It Up: Sprinkle kosher salt all over the steak.
Rest Time: Let it chill in the fridge uncovered for at least an hour—24 hours max. This lets the salt work its magic.
Rinse and Dry: Before cooking, rinse off the extra salt and pat the steak dry. This sets you up for a perfect sear.
Dry brining means flavor-packed, juicy steak. For more on reverse searing, check out my guide on how to reverse sear a steak and my tasty reverse sear steak recipe.
With these tips, you’re set to master reverse searing and enjoy top-notch steaks every time.

Step-by-Step Guide to Reverse Searing
Tired of subpar steaks? The reverse sear method changed my carnivorous life. Here’s how to nail that restaurant-worthy steak at home.
Getting the Steak Ready
First thing, grab that steak from the fridge about an hour before you cook it. Let it sit out to lose the chill; this ensures it cooks evenly. While you wait, hit it with a generous sprinkle of salt and pepper. If you want to be fancy, go for a dry brine – salt it early and let it sit. Trust me, it’s worth it.
Oven Time
Preheat your oven to a cozy 250°F. Put the seasoned steak on a wire rack (on a baking sheet) to let air circulate all around it.:
- Stick a meat thermometer into the thickest part of the steak.
- Roast it in the oven until it hits your target internal temp:
| Temperature | Doneness |
|---|---|
| 125°F | Rare |
| 135°F | Medium Rare |
| 145°F | Medium |
| 150°F | Medium Well |
| 160°F | Well Done |
As the meat heats up, its natural cathepsin enzymes break down fibers, making it extra tender (Jessica Gavin). This roasting step should take about 20-30 minutes based on steak thickness.
Sizzle in a Skillet
When your steak hits the right temp, move it to a ripping hot cast iron skillet. Sear it for 60-90 seconds per side to get that glorious crust.
- You can toss in some oil or butter for added flavor.
- Look for that deep brown caramelization; that’s when it’s ready.
- Let the steak rest for a bit before slicing to keep the juices inside.
This reverse sear method takes your steak to the next level with fantastic tenderness and flavor. You’ll never go back. For more details, check out my complete reverse sear steak recipe or see other juicy tips on how to reverse sear a steak.
Perfecting the Reverse Sear
Tips for Tasty Results
I’ve picked up some solid tips on nailing the reverse sear cast iron method, and they’ve made a world of difference:
Temperature Control: Start by roasting your steak in the oven at 225–300°F until it hits your desired internal temp. I like to keep the oven around 250°F. This slow and steady approach guarantees a juicy, flavorful steak.
Room Temperature: Pull the steak out of the fridge an hour before cooking. This evens out the cooking process since the meat isn’t icy cold.
Dry Brining: Season your steak with coarse sea salt or kosher salt and pepper, then let it chill in the fridge uncovered for at least an hour. This trick not only boosts the flavor but also helps you get that perfect crust (Kitchen Swagger).
Use a Meat Thermometer: Keep a close eye on the internal temp with a reliable thermometer. This takes the guesswork out of cooking and ensures you get the doneness you want every time.
Sear Time: When it’s time to sear, heat up your cast iron skillet and give each side about 60-90 seconds. You’ll get a delicious caramelized crust thanks to the Maillard reaction, making the flavors pop (Sur La Table).
Checking Steak Doneness
Perfectly cooked steak? Yes, please. Here’s my cheat sheet for knowing when the steak is just right:
| Doneness Level | Internal Temperature |
|---|---|
| Rare | 120°F – 125°F |
| Medium Rare | 130°F – 135°F |
| Medium | 140°F – 145°F |
| Medium Well | 150°F – 155°F |
| Well Done | 160°F and above |
I use this chart while checking the steak’s internal temp. I pull the steak from the oven about 5°F before hitting my target since it keeps cooking as it rests. Each doneness brings a different flavor and texture, so go with what you love.
For a full step-by-step guide, check out our article on how to reverse sear a steak. If you want more recipes, my favorites include reverse sear steak recipe and reverse sear sous vide if you’re feeling adventurous. Enjoy your cooking!
Making Your Steak Unforgettable
Boosting That Flavor
If you’re looking to make your steak shine, a few solid tricks can take it up a notch. First off, let’s talk about dry brining. Trust me, this simple move—rubbing your steak with coarse sea salt or kosher salt and a dash of cracked pepper—can work wonders. The salt pulls moisture out and then back in, giving your meat an evenly seasoned kick from the inside out.
Now, if you haven’t tried the reverse sear technique, you’re missing out. This one’s a game-changer for thicker cuts like ribeyes, filet mignon, and New York strips. It gives you a beautifully charred crust and a perfectly cooked interior, no matter how much fat your steak’s packing (Tasting Table). Check out this handy table for which cuts work best:
| Steak Cut | Thickness | Best Cooking Method |
|---|---|---|
| Ribeye | 1.5 inches | Reverse Sear |
| Filet Mignon | 1.5 inches | Reverse Sear |
| New York Strip | 1.5 – 2 inches | Reverse Sear |
| T-bone | 1.5 – 2 inches | Reverse Sear |
Using a cast iron skillet is also a major win. The high heat from that bad boy gives you a crust that’s crunchy and mouthwatering while keeping the inside tender (Webstaurant Store).
Keeping Things Fresh
Got leftovers? Same here. To keep your steak as tasty as the first bite, store it in the fridge for up to 5 days inside an airtight container. You’ll lock in all that juicy goodness and keep unwanted flavors out.
Leftover steak is like a gift that keeps on giving. Here are a few tasty ideas for repurposing it:
- Steak Tacos: Thinly slice the steak and throw it into taco shells with your favorite toppings.
- Veggie Bowls: Dice up the steak and mix it with roasted veggies and grains for a filling bowl.
- Hearty Steak Sandwiches: Stack the steak slices on some fresh bread, add your favorite sauces and toppings, and dig in (Tasting Table).
Nailing these flavor tips and properly storing your steak means you can savor that deliciousness long after it’s left the grill. For more detailed recipes and how-tos, check out our reverse sear steak recipe and our guide on the reverse sear sous vide.


One Comment
Comments are closed.