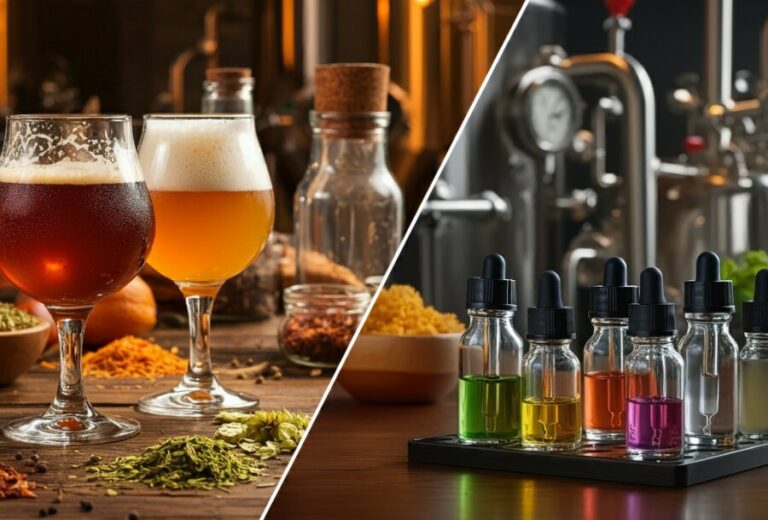
Pump Up the Flavor and Aroma
What’s the Deal with Hop Bursting In Homebrewing?
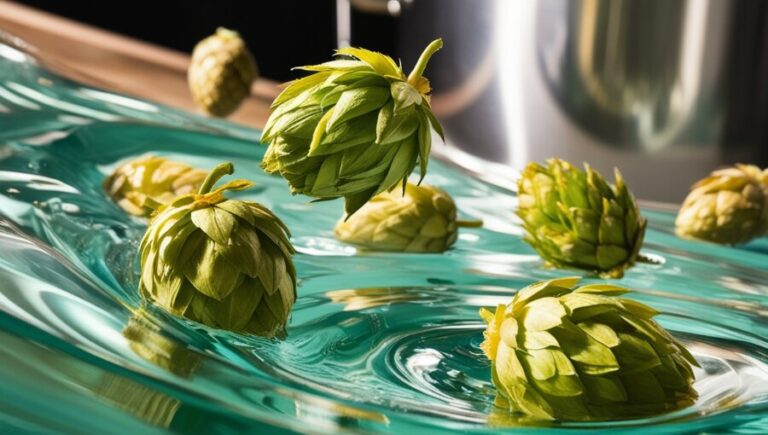
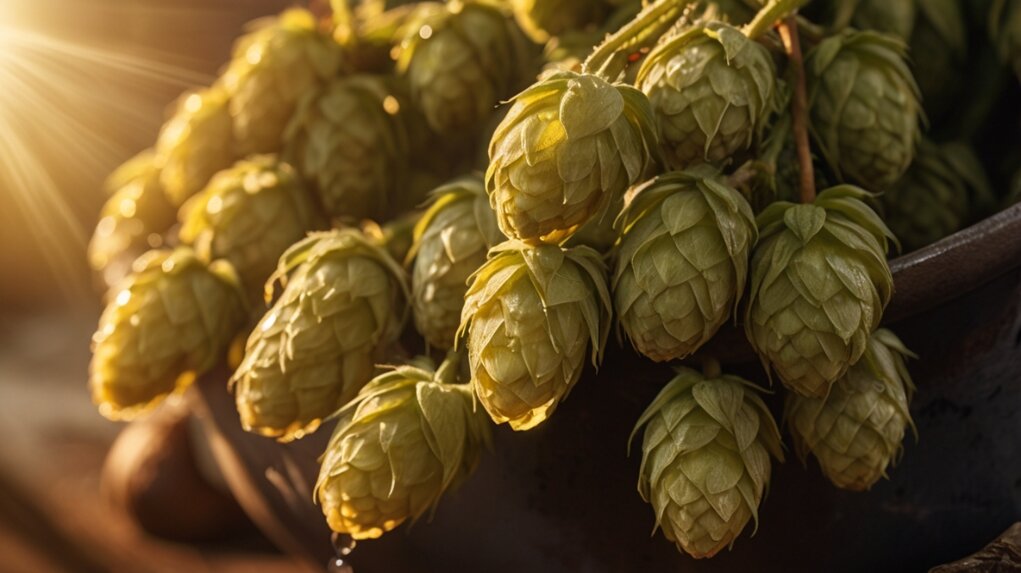
Hey there, fellow homebrewers! Let me share a little secret that’s taken my brewing game up a notch: hop bursting. This nifty trick involves tossing in a heap of hops right at the end of the boil or even after it’s done. The magic here is all about timing—doing it late keeps those precious hop oils intact, so they don’t vanish into thin air during the boil (HomeBrewTalk).
Unlike continuous hopping, where you add hops bit by bit, hop bursting is like a flavor bomb. You dump a big load of hops all at once towards the end, giving your brew a massive hit of hop goodness. This is especially awesome for IPAs, which live and die by their hop character (HomeBrewTalk).
| When You Add Hops | Flavor Boost | Aroma Boost |
|---|---|---|
| Early Boil | Mostly Bitterness | Not Much |
| Mid Boil | Some Flavor | Some Aroma |
| Late Boil/Post-Boil | Tons of Flavor | Tons of Aroma |
Why Hop Bursting Rocks
Hop bursting isn’t just a fancy term—it’s a game-changer. Here’s why I’m all in:
- Flavor Explosion: Adding hops late means the flavor is way more intense than with old-school methods.
- Aroma Heaven: Those volatile oils stick around, making your beer smell amazing.
- Bitterness Control: You get to dial in the bitterness just right while still packing in flavor and aroma.
- Brewer’s Favorite: More and more homebrewers are jumping on the hop bursting bandwagon, especially for hop-heavy beers (American Homebrewers Association).
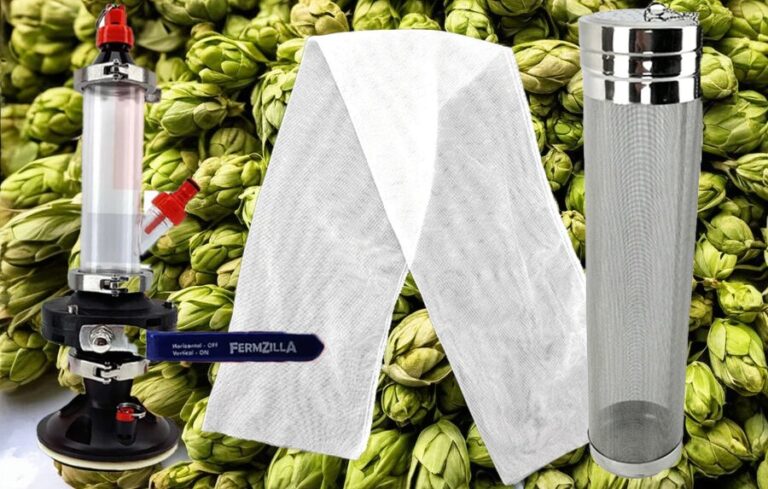
Since I started using hop bursting, I’ve been playing around with different hop varieties and getting some killer results. If you’re looking to dive deeper, check out articles on whirlpool hopping techniques and hopback brewing techniques for even more ways to crank up the aroma in your homebrew.
Hop Bursting Techniques
When I jump into hop bursting in homebrewing, I find it crucial to get the hang of different techniques. Two of the best methods are late boil additions and post-boil additions. These not only boost the flavor and aroma of my brews but also let me play around with various hop varieties.
Late Boil Additions
Late boil additions mean tossing hops in during the last minutes of the boil. This keeps more of those tasty hop oils, which give the beer its aroma and flavor. By adding a bunch of hops at this stage, I can get a stronger hop character without making the beer too bitter.
Here’s a quick table to show the timing for late boil additions:
| Time Left in Boil | Amount of Hops (oz) | Purpose |
|---|---|---|
| 15 minutes | 1 – 2 | Boost aroma and flavor |
| 5 minutes | 2 – 3 | Intense aroma and flavor |
| Flameout | 3 – 4 | Max aroma retention |
Adding hops at these late stages lets me brew a beer that bursts with flavor and aroma. For more detailed techniques, check out my article on whirlpool hopping techniques.
Post-Boil Additions
Post-boil additions happen after the boil is done, often during a whirlpool or while the wort is cooling. This method also keeps more hop oils, enhancing the beer’s aroma and flavor. Post-boil additions are great for getting a fresh hop character.
Here’s a helpful breakdown:
| Timing | Amount of Hops (oz) | Purpose |
|---|---|---|
| Right after flameout | 2 – 4 | Max aroma retention |
| During whirlpool | 2 – 3 | Boost flavor and aroma |
| Cold crashing | 1 – 2 | Extra aroma boost |
Using this method lets me experiment with hop varieties more freely, giving each beer its unique character. I highly recommend exploring dry hopping methods for more aroma enhancement techniques.
By understanding and using late boil and post-boil additions, I can really max out the flavor and aroma in my homebrew creations.

Pump Up Your Brew: Mastering Hop Character
Homebrewing is a wild ride, and one thing I’ve learned is that how you add hops can make or break your beer’s flavor and aroma. Two game-changing techniques are hop bursting and continuous hopping. Knowing the ins and outs of these methods can help you nail that perfect pint.
Hop Bursting vs. Continuous Hopping
Hop bursting is all about dumping a ton of hops late in the boil or even after it. This method cranks up the hop flavor and aroma, making it a go-to for hopheads brewing IPAs (American Homebrewers Association). On the flip side, continuous hopping means adding smaller amounts of hops throughout the entire boil.
Here’s a quick rundown:
| Aspect | Hop Bursting | Continuous Hopping |
|---|---|---|
| Hops Added | Big amounts late/post-boil | Small amounts throughout the boil |
| Flavor Profile | Bold hop flavor and aroma | Smoother bitterness |
| Bitterness | Can be a bit harsh | More balanced bitterness |
| Popular Styles | IPAs | Various styles, including lighter ales |
Choosing between these methods depends on what you’re aiming for. Want that in-your-face hop punch? Go for hop bursting. Prefer a smoother, more balanced brew? Continuous hopping’s your friend (HomeBrewTalk).
Striking the Perfect Balance
Nailing the right hop balance is key to brewing a killer beer. When I mess around with hop bursting, I have to watch the timing and amount of hops. Too much, and it’s like chewing on a pine cone; too little, and you miss that hop magic.
Mixing both techniques can also work wonders. Start with continuous hopping to lay down a bitterness base, then hit it with a hop burst at the end for that aromatic kick. This combo lets you control bitterness while amping up the hop character.
To fine-tune my brews, I dive into resources on advanced hopping techniques and maximizing aroma in homebrew. These guides help me pick the right hops and figure out the best times to add them. Whether I’m using whirlpool hopping techniques or hopback brewing techniques, each method adds its own twist to my beer.
Experimentation is the name of the game. By tweaking my hop additions and trying out different combos, I can craft unique brews that match my taste and make the most of my hops’ aromatic and flavorful potential.
Playing with Hop Techniques
Getting into homebrewing has been a wild ride, and playing around with different hop techniques has taken my beers to the next level. Two tricks that have really stood out are dip hopping and finding the dry hop saturation point. These methods can seriously boost the hop flavors and aromas in your brew.
Dip Hopping Method
Dip hopping is a cool trick I picked up from the folks at Japan’s Spring Valley Brewery back in 2012. It’s all about soaking hops in warm water or wort in the fermenter before mixing it with the chilled wort. People say this method brings out the fruity notes and cuts down on that grassy taste you sometimes get from myrcene (Brülosophy).
I tried it out with two American Pale Ales—one with 28 grams (1 oz) of Citra hops using the dip hopping method and one without. Out of 29 tasters, 18 could tell which one was dip hopped, and most of them loved the brighter, fruitier taste. They said the dip hopped beer had a strong fruity punch without the grassy aftertaste (Brülosophy).
| Experiment Results | Dip Hopped | Non-Dip Hopped |
|---|---|---|
| Tasters Identified | 18/29 | – |
| Preference | 14 preferred | 2 preferred |
Dry Hop Saturation Point
Next up, I’ve been messing around with the dry hop saturation point. This is where you add hops during fermentation to max out the hop aroma and flavor. The trick is to find just the right amount of hops so you don’t overpower the beer.
I’ve found that the sweet spot changes depending on the hop variety and the beer style. Some hops give off more floral or citrusy vibes, while others bring out earthy or spicy notes. It’s all about experimenting with different hops to see how they play with your base beer.
I usually check out resources on dry hopping methods and hop varieties for flavor to make sure I’m on the right track. Knowing how different hops affect the overall taste helps me nail the perfect balance in my brews.
By playing around with dip hopping and dry hop saturation points, I can make my homebrew smell and taste amazing. Each batch becomes a fun experiment, and I get to explore all the awesome hop flavors out there. If you’re looking to up your aroma game, check out maximizing aroma in homebrew for more tips.
Boosting Aroma and Flavor in Your Homebrew
Making your homebrew smell and taste amazing is a real art, and I’ve got a couple of tricks up my sleeve that can seriously up your brewing game. Let’s talk about two game-changers: the flameout hop stand and extended hop steeping.
Flameout Hop Stand
So, what’s a flameout hop stand? It’s when you toss hops into the wort right after you kill the heat and let them chill there for about 20 minutes. This trick gives you a punch of hop flavor and aroma without turning your beer into a bitter mess. A cool experiment showed that adding hops at flameout for a 20-minute stand gives you similar flavor and bitterness to adding hops with 20 minutes left in the boil (Brulosophy).
| Technique | Flavor Impact | Bitterness Impact | Clarity |
|---|---|---|---|
| Flameout Hop Stand | High | Low | Slight haze |
| 20-Minute Boil Addition | Moderate | Moderate | Clear |
Using the hop stand method not only cranks up the hop aroma but also gives your beer a cool, hazy look. This is perfect for beers like IPAs or pale ales that thrive on strong hop vibes.
Extended Hop Steeping
Extended hop steeping is another nifty trick. You do this while cooling the wort after the boil. Letting the hops steep longer in the hot wort pulls out more essential oils, boosting both aroma and flavor without the extra bitterness you’d get from a longer boil.
Temperature is key here. I usually cool the wort to around 170°F (77°C) before adding the hops. This sweet spot is warm enough to extract those yummy flavors and aromas but not so hot that it makes the beer bitter.
If you’re itching to try more ways to make your homebrew shine, check out our articles on dry hopping methods and maximizing aroma in homebrew. These techniques are gold for amping up hop character. Plus, playing around with different hop varieties for flavor can lead to some awesome, unique brews.
Happy brewing!
Practical Applications
Hop bursting can take your homebrewing to the next level, adding layers of flavor and aroma to your beer. Here’s how you can make it work for you.
Implementing Techniques
When I use hop bursting, I focus on adding hops late in the boil and after the boil to get the most out of their aroma and flavor. Here’s my go-to method:
- Late Boil Additions: Tossing in hops during the last 5-10 minutes of the boil really amps up the aroma. I usually go for aromatic hops here to get the best flavors.
- Post-Boil Additions: After the boil, I add hops during the whirlpool phase or straight into the fermentor. This captures those precious volatile oils, giving a rich aroma without too much bitterness. For more details, check out my notes on whirlpool hopping techniques.
| Technique | Timing | Purpose |
|---|---|---|
| Late Boil Additions | Last 5-10 Minutes | Boost aroma, cut down on vegetal flavors |
| Post-Boil Additions | After Boil | Capture volatile oils, enhance aroma |
Considerations and Results
While experimenting with hop bursting, it’s crucial to balance hop flavor and bitterness. Too many hops can make your beer taste like “hop tea.” Keeping bitterness in check is key (Brew Dudes).
I also keep an eye on dry hop saturation. Research shows that staying under 8 g/L for dry hopping gives the best results without compromising quality (Brülosophy). This not only keeps the beer’s integrity but also improves the final yield.
| Consideration | Recommended Level | Effect on Beer Quality |
|---|---|---|
| Dry Hop Quantity | ? 8 g/L | Optimal flavor without losing quality |
| Bitterness Balance | Moderate | Avoids “hop tea” or “green IPA” flavors |
By using these techniques and keeping these considerations in mind, you can get the hop character you want in your homebrew. For more tips, check out advanced hopping techniques and homebrew flavour enhancers to fine-tune your brewing skills even more.