Keeping Your BBQ Smoker Happy and Smoking
Taking care of my BBQ smoker isn’t just about making food taste better—it’s about making sure the smoker doesn’t give up the ghost too soon. I’m talking about keeping that bad boy in tip-top shape so it can sling out those mouthwatering ribs and briskets for years.
Flavour Insurance
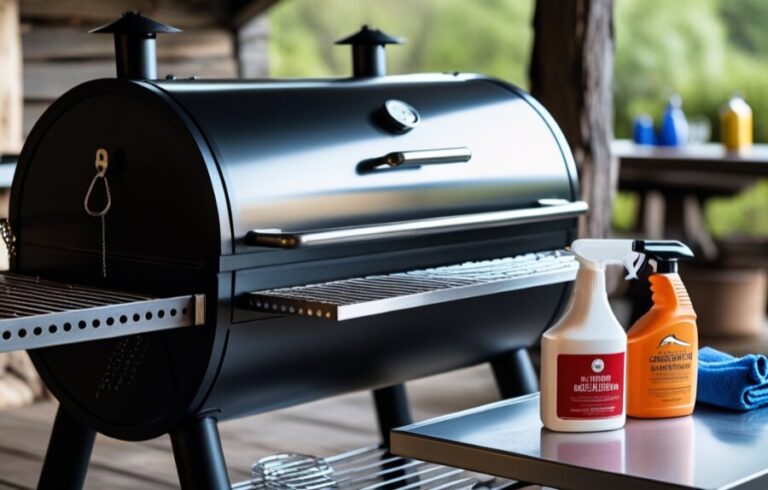
Look, no one wants their perfectly marinated brisket to taste like last week’s burnt sausages. Keeping the smoker clean after every cook is a must to keep those flavors on point. Ignore it, and you’re basically asking for a mess of grease and ashes to crash your flavor party. All that charred gunk can spoil the fresh, smoky goodness you crave (Rock Doctor). Following a proper bbq smoker cleaning guide is like having insurance for your taste buds.
| When to Clean | Flavor Impact |
|---|---|
| After Each Use | Best taste, always |
| Every 4-5 Times | Keeps things decent |
| Never | Tastes like old grease and regrets |
Keeping It Alive and Kicking
Cleaning isn’t just about flavor; it’s also about making sure my smoker doesn’t die a rusty death. Grease and carbon build up can cause breakdowns and even rust, so yeah, it’s important to clean it regularly (Lillie’s Q). Just a smidge of effort can make my smoker last for many good times ahead.
Experts recommend a clean every 4 to 5 cooks for a reason (Smoking Meat Forums). Stick with that, and you’re not just wiping away grease—you’re keeping your smoker in prime condition. Trust me, adding some bbq smoker maintenance tips into your routine can make all the difference between a loyal smoking companion and a rust bucket.
So, next time you’re ready to fire up the smoker, make sure it’s as clean as the day it rolled off the assembly line. Your taste buds—and your smoker—will thank you.
Regular Cleaning Schedule
Keeping my BBQ smoker spick and span isn’t just for show; it’s about making sure every smoke session is a hit and the machine lasts a long time. A quick scrub after each cook and a deep clean every now and then does the trick.
After Each Use
After every BBQ, I always give the smoker a quick cleanup. Getting rid of leftover food bits and ash keeps everything tasty and safe. Skipping this step can leave old flavors hanging around and even cause fires (American Barbecue Systems).
I use a small shop vac to suck out the ash and debris once the smoker cools down. Regular cleanings keep my smoker in top shape and my food tasting great. Dirty grates mean dirty flavors, and nobody wants that (Rock Doctor).
Here’s my go-to checklist after each smoke session:
| Task | When to Do It |
|---|---|
| Clean off food from grates | Every time you cook |
| Vacuum out ash from the firebox | Every time you cook |
| Wipe down all surfaces | Every time you cook |
| Peek at the grease tray | Every time you cook |
Deep Cleaning Frequency
Every few cooks, I give my smoker a deep clean. This prevents grease buildup and keeps it working smoothly (Smoking Meat Forums). I take apart the smoker, scrub the walls, grates, and any parts that come off.
Here’s my deep cleaning schedule:
| Task | How Often |
|---|---|
| Take apart and clean interior parts | Every 4-5 cooks |
| Inspect and clean the grease tray | Every 4-5 cooks |
| Replace or clean the water pan | Every 4-5 cooks |
Regular maintenance is key. Sticking to these schedules means my meats are always tasty, and my smoker runs like new. For extra tips, check out my articles on how to clean a BBQ smoker and smoker cleaning hacks.

Cleaning Techniques and Tools
Taking care of my BBQ smoker means using practical cleaning tricks and the right gear. This not only cranks up the performance but also keeps my food tasting top-notch. I’ve found some handy tips to keep my BBQ smoker running smoothly.
Top-Down Approach
I start from the top and work down. This method prevents dirt and grease from undoing my hard work. A good degreaser helps tackle the grime inside the smoker, though 100% spotless might not be doable. Here’s my step-by-step process:
| Step | Action |
|---|---|
| 1 | Take out grates and accessories. |
| 2 | Spray degreaser inside. |
| 3 | Scrub from top to bottom. |
| 4 | Wipe clean with a damp cloth. |
| 5 | Clean the grates separately. |
Ditching Abrasive Brushes
Abrasive brushes are a no-go because they can leave wire bits behind. Instead, I use tools like a putty knife and a shop vacuum for the tough stuff. Here’s my list of safe cleaning tools:
| Recommended Tools | Purpose |
|---|---|
| Putty Knife | Scraping off gunk |
| Shop Vacuum | Sucking up debris and ash |
| Soft Cloths | Wiping surfaces |
| Non-Abrasive Sponges | Cleaning grates |
Oiling to Fight Rust
Oiling the inside of my smoker stops rust and keeps it in good condition, especially in damp areas like the Pacific Northwest. I aim for a light coat of food-safe oil after every clean. Here’s my oiling routine:
| Step | Action |
|---|---|
| 1 | Pick a food-safe oil. |
| 2 | Apply a thin layer inside. |
| 3 | Focus on moisture-prone spots. |
| 4 | Wipe off extra oil. |
For more detailed steps, I turn to my BBQ smoker cleaning guide or check out some smoker cleaning hacks. Keeping up with these routines makes sure outdoor cooking stays fun, and the flavors stay fantastic.
BBQ Smoker Cleaning Guide
Hey there, fellow BBQ enthusiast! When it comes to keeping my BBQ smoker in tip-top shape, I’ve got a trusty bbq smoker cleaning guide that I swear by. Regular cleaning keeps my flavors on point and makes sure my smoker lives a long, happy life. Here’s the lowdown on how I keep things clean and mean.
Post-Cook Quick Clean-Up
Right after I’m done cooking, I get rid of any leftover food bits on the grates and check out the ash situation in the firebox. Ash can be a real pain, especially when it’s damp—it’s like smoker kryptonite. I use a small shop vac to clean it out once everything’s cooled off (Smoking Meat).
| Task | How Often |
|---|---|
| Clear food from grates | Every time you cook |
| Check and clean out ash from firebox | Every time you cook |
Banning Grease Buildup
Grease buildup is like that uninvited guest who never leaves. To keep it at bay, I clean my smoker every 4 to 5 cooks. This keeps everything running smoothly and avoids a greasy, smoky mess (Smoking Meat Forums). Here’s how I handle it:
| Task | How Often |
|---|---|
| Light cleaning (grates, drip pan) | Every cook |
| Deep cleaning (inside of the smoker) | Every 4-5 cooks |
Handling Ash Like A Pro
Ash removal is key for keeping your smoker in mint condition. Especially in winter, a little ash can help keep the heat in, but I make sure to give it a good clean every 25 hours of cook time (Smoking Meat). Here’s my ash-busting routine:
| Ash Removal Method | How Often |
|---|---|
| Vacuum ash from firebox | Every cook |
| Clean out too much ash from smoke chamber | Every 25 hours of cooking |
Sticking to these cleaning habits keeps my BBQ smoker ready to go for any cooking adventure. For even more tips, I love checking out smoker cleaning hacks and bbq smoker maintenance tips. A well-maintained smoker means mouth-watering results every time I fire it up. Happy smoking!
BBQ Smoker Cleaning Tips
Keeping your BBQ smoker in tip-top shape is crucial for both its lifespan and the taste of your grilled goodies. Here are some down-to-earth tips that have worked for me over the years.
Pellet Grill Cleaning
When I’m sprucing up my pellet grill, I always start at the top and move down. A degreaser helps me tackle that stubborn buildup inside. Sure, it’s tough to get it spotless, but this method gets me pretty close. Pro tip: after you finish grilling, take out any leftover pellets so they don’t get funky with mold or oxidation.
| Cleaning Step | Method |
|---|---|
| Remove pellets | By hand or vacuum |
| Wipe interior surfaces | Degreaser and cloth |
| Clean shelves and grates | Scrape off residue |
Grate Maintenance
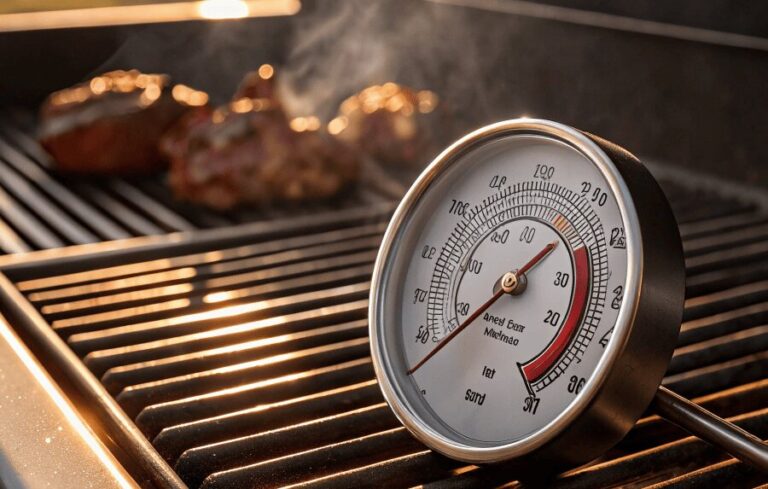
Cleaning those grates can be a real headache, but I’ve found some tricks that make it easier. Let the grates cool before cleaning. A small shop vac does wonders for ash and debris. You know your smoker’s clean when it produces that clear blue smoke we all love—dirty smokers give off black smoke and mess with the taste. Scrubbing the grates boosts the flavor of my food every time.
| Maintenance Task | Frequency |
|---|---|
| Ash removal | After each use |
| Deep cleaning of grates | Weekly or bi-weekly |
Ditch the Wire Brushes
Wire brushes are a no-go for me. Tiny wire bits can break off and sneak into your food—nasty and dangerous. I stick to methods like scraping with safe tools or using a shop vac. Also, when breaking in a new smoker, I do a burn-in process to get rid of any factory oils and prevent rust.
Using the right tools and techniques keeps my smoker in great condition and ensures my food is safe and tasty. Treat your smoker right, and every BBQ session will be a hit!
Keeping Your BBQ Smoker in Top Shape
If you wanna keep that BBQ smoker humming like a dream, you’ve gotta stay on top of a few key tasks. I’m talking the crucial steps—burn-in process, proper grease disposal, and regular maintenance.
Burn-In Process
Every time I get my grubby paws on a new smoker, the first order of business is the burn-in. This is a big deal because it burns off any yucky oils from manufacturing and gets the metal all prepped with cooking oil. This not only keeps rust away but also makes the smoker last longer.
Now, if I’ve given my smoker a good scrub down or it’s been chilling in the garage for too long, I’ll do another burn-in. It’s simple and pays off tenfold by keeping performance levels high.
Grease Disposal Methods
Nobody wants grease fires or patio stains, so handling grease the right way is critical. After each grilling session, I check and empty the grease tray. It’s a must to prevent flare-ups that could turn a pleasant BBQ into a disaster.
Here’s my grease disposal routine:
- Let the grease cool and harden.
- Scrape it into an old coffee can.
- Seal it up and toss it in the trash.
Whatever you do, don’t pour that stuff down the drain unless you enjoy clogged pipes.
Seasonal and Periodic Maintenance
To keep my smoker running smooth, I save time for some seasonal TLC:
- Parts Inspection: I check for rust and cracks in hoses and gas lines.
- Deep Cleaning: Armed with grill brushes, I attack the grates, chimney, lid, cook chamber, and drip pan to make sure no food gunk is left behind (Lillie’s Q).
- Handling Build-Up: Any stubborn grease or carbon build-up gets the boot, as it can mess with flavor and even damage the smoker’s lifespan.
These are my tried-and-true practices that keep my BBQ smoker in fighting shape year after year.