Mastering Cold Crashing Homebrew Fermentation: Homebrewers’ Secret Weapon
What Exactly is Cold Crashing?
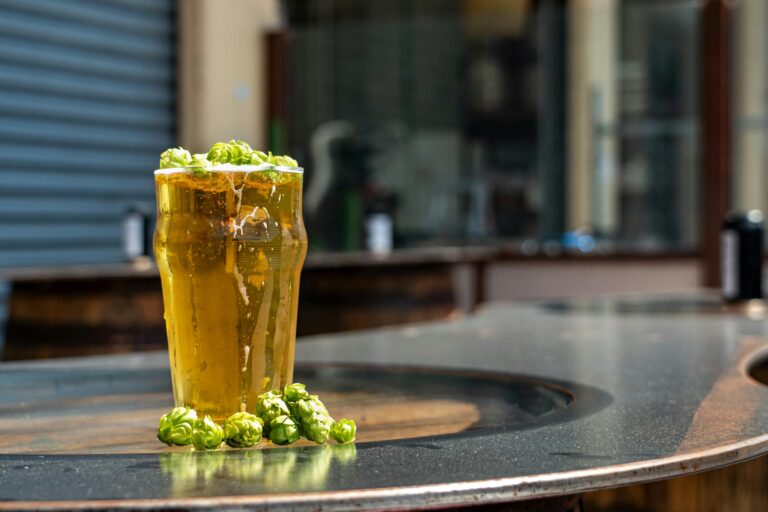
Imagine you’re a homebrewer, and you’re just about to finish up your latest brew. Cold crashing homebrew fermentation is your superhero move. It’s all about chilling your fully fermented beer to fridge-level cold—and holding it there for about 24 hours. Why? To let all those tiny yeast particles and other floaties sink to the bottom. In no time, you’ve got a beer so clear you can practically see your reflection in it. Plus, it gives the aging process a little turbo boost (Northern Brewer) (Bräu Supply).
Cold crashing helps make the leftover bits, like proteins and yeast, clump together and fall out of suspension. This leaves you with a super clear beer and a compact layer of gunk at the bottom, making it a piece of cake to siphon off the good stuff (Brulosophy).
Why Bother with Cold Crash Homebrew Fermentation?
Why should you give cold crash homebrew fermentation a shot? First off, it makes siphoning the clear beer off the sediment a breeze, giving you a top-notch pour every time (Homebrewers Association Forum). It’s a real game-changer for brewers using yeast that doesn’t settle out easily. No need for complex kegging systems or fancy filters—just a fridge or a cold space, and you’re good to go (Northern Brewer).
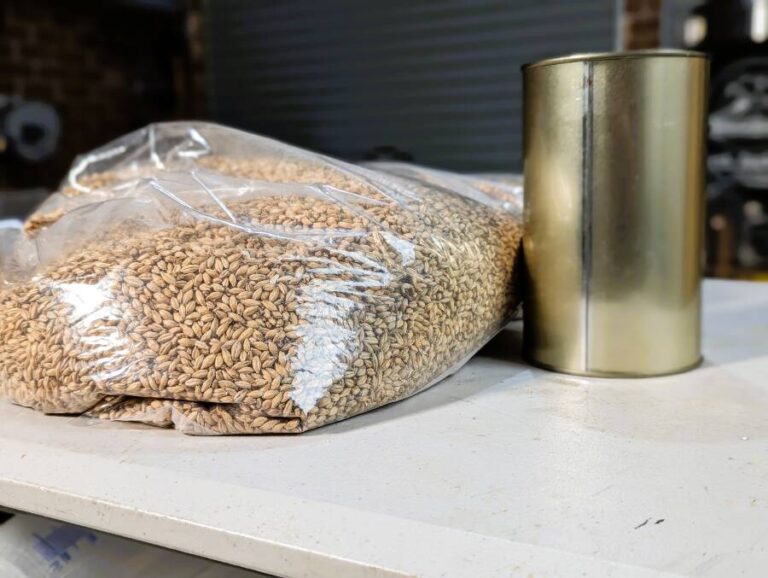
Aside from yeast, cold crashing helps settle proteins and tannins from the grains. When it’s cold, these solids become less soluble and settle faster, giving your brew that extra sparkle. Add some fining agents, and you’re golden (Bräu Supply).
Getting the hang of cold crashing can elevate your homebrewing game, whether you’re in your 30s, 40s, 50s, or beyond. For more brewing tips and tricks, swing by our guides on homebrew fermentation temperature control and homebrew fermentation temperature management. Cheers to clearer, tastier beer!
Cold Crashing Techniques
Cold crashing can make a world of difference in your brew’s clarity and taste. If you want to take your homebrew from “meh” to “wow,” this is a technique you’ve gotta know, especially for cleaning up the look and feel of your beer.
Cool It Down: Step by Step
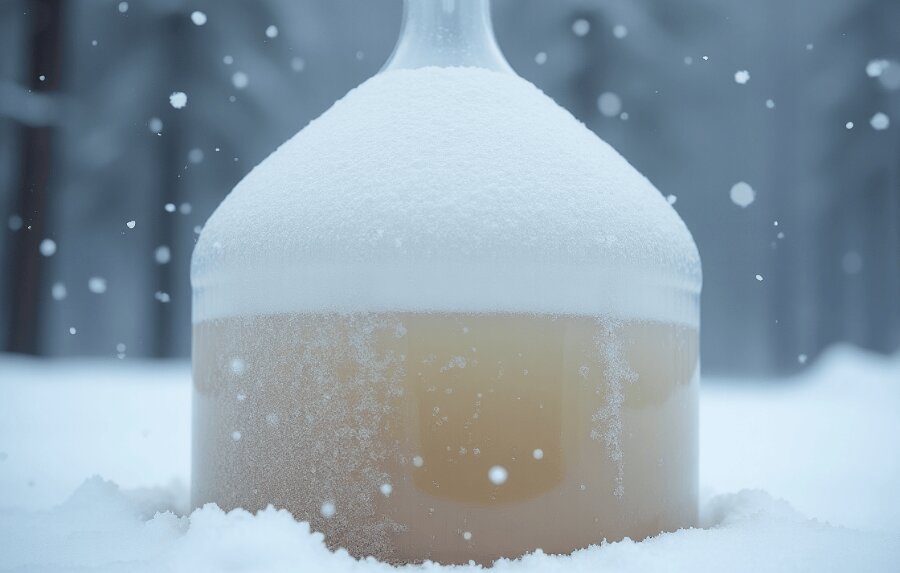
Cold crashing is all about bringing your beer down to “almost-icicle” temperatures, close to 32°F (0°C). This icy temp makes the leftover yeast and other bits clump up and settle at the bottom. Here’s how you do it:
| Step | What to Do | Temperature |
|---|---|---|
| 1 | Start chilling | 65°F (18°C) |
| 2 | Slow drop in temp | 40°F (4°C) |
| 3 | Cold crash it | 32°F (0°C) |
Hold this near-freezing temp for about a day. This gives all the floating stuff time to settle down so you can get a clear beer (Northern Brewer). After this, you just siphon the beer off the gunk at the bottom and you’re good to go (Homebrewers Association Forum).
Timing Is Key
You can’t just cold crash whenever you feel like it. Timing and duration are everything. Hold your beer at near-freezing for about 24 hours. Do this right after fermentation wraps up to keep your beer tasting fresh and avoid any weird off-flavors that could sneak in if you wait too long. Here’s a basic timeline:
| Parameter | How Long |
|---|---|
| Cold Crash Time | 24 hours |
| Best Time to Start | Right After Fermentation |
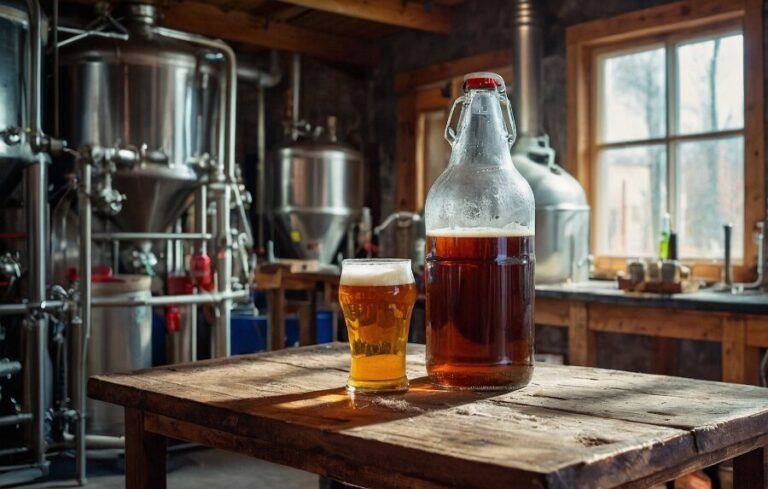
If you’re bottling your beer, you might wanna add some dry yeast like Lallemand CBC-1 during bottling. This helps give your beer that natural fizz, though it may need a bit more waiting time depending on the yeast and type of beer (Northern Brewer).
Nail the temperature steps and timing, and you’ll have a clearer, tastier beer. If you want more tips on managing fermentation temperatures, check out these homebrew fermentation temperature control and homebrew fermentation temperature management articles.

Cold Crashing Tips for Homebrewers
Cold crashing isn’t just a fancy term; it’s a game-changer for homebrewers aiming for crystal-clear beer without funky flavors sneaking in.
Clear as a Summer Sky
Let’s talk clarity first. Cold crashing makes your beer look like that perfect Instagram-worthy pint. When you chill your brew, stuff like proteins and tannins decide to settle down and form a neat layer at the bottom. This is great news because these are the culprits who make your beer cloudy. It’s like the junk sinking to the bottom of a snow globe.
Plus, yeast cells group up and drop out faster, making them less likely to hang around in your beer. Using things like Irish moss can speed up this process. Both ales and lagers can benefit from cold crashing, making them look and taste sharper.
However, beware of the notorious chill haze. Even a good cold crash can’t always fix that. A quick remedy is adding a bit of gelatin finings before you bottle your brew; it clears up any lingering haze and gives you that clear finish you’re after.
| Clarity Stage | What’s Happening |
|---|---|
| Initial Cold Crash | Solids and yeast settle; beer starts to clear up |
| Enhanced Clarity | Finings like Irish moss or gelatin work their magic |
Watch Those Off-Flavors
But it’s not all sunshine and rainbows. Cold crashing can mess with your beer’s taste if you’re not careful. The yeast needs some time to wrap things up before they go into hibernation mode. If you drop the temp too fast, the yeast might produce esters and fusel alcohols that can make your beer taste off.
Keep an eye on your temps and drop them gradually. A stable environment goes a long way. Usually, a few days to a week is the sweet spot for cold crashing, depending on what type of beer you’re working on.
By getting a handle on cold crashing, you can finesse both the look and taste of your homebrew into something you’ll be proud to share. For more tips on keeping your brew game strong, check out our guide on temperature management.
Cold Crashing Methods
Alright, let’s talk cold crashing. It’s your ticket to clearer, more polished homebrew. Whether you’re a minimalistic hobbyist or gadget geek, there’s a way to make it work for you. We’ll break down both straightforward, manual ways and shiny gadget-packed options.
Manual Methods
If you’re old school, or maybe just love the charm of doing things by hand, manual cold crashing is your jam. Here’s the lowdown:
- Drop It Like It’s…Cold: Slowly, and I mean slooowly, cool your fermenter to about 35°F (1.7°C) over one or two days. Think of it like coaxing a sleepy bear into hibernation.
- Sit Tight: Give it a day or two to chill out (literally) and let the yeast and other stuff settle at the bottom.
- Tap the Good Stuff: When you’re ready, carefully siphon off your precious liquid gold into bottles or kegs, leaving the gunk behind.
This works great if you’ve got a decent-sized fridge and prefer a more hands-on approach.
Equipment Options
For those who love their toys, here’s where it gets fun. You’ve got a few high-tech options that’ll make cold crashing a breeze:
| Gadget | What It Does |
|---|---|
| Refrigerators | Your basic roommate for small batches, reliable for that quick chill. |
| Keezers | A pimped-out freezer-turned-kegerator. Keeps temperatures just right, like a boss. |
| Temperature-Controlled Fermenters | The luxury SUV of fermenters. Gives you spot-on temps every time. Perfect for the serious brewer who wants consistency. |
If you’re kegging your brew, you can cold crash right in the keg. A bonus trick is purging with CO2 to keep it fresh and oxygen-free. Not only does this make for a cleaner beer, but it cuts your transfer time and lowers contamination risk (Northern Brewer).
No matter how you roll, keeping an eye on your temperature control is your best bet to nail cold crashing and make every brew a winner. Cheers to clearer, tastier beer!
Cold Crashing Experiment Results
Wondering if cold crashing your homebrew beer quickly or over time makes a difference? So did we. Here’s what we found out.
Shocking Cold vs. Taking It Easy
We tried two methods with Munich Helles beer: a quick ice-cold shock and a slow, gentle chill. Tasters couldn’t tell the difference between the beer that was dropped fast from 56°F (13°C) to 36°F (2°C) in an hour and the beer that took a leisurely 10 days to cool down.
| Cold Crash Method | Duration | Temperature Change | Tasters’ Take |
|---|---|---|---|
| Quick Chill | 1 hour | 56°F to 36°F | No difference noted |
| Slow Chill | 10 days | 56°F to 36°F | No difference noted |
Out of 21 tasters, only 5 could tell which beer was which—statistically, that’s just a lucky guess (p=0.89). So, does how fast you cool your beer matter for flavor or clarity?
Speed and Quality
The xBmt tests tell us no, it doesn’t. Whether you cold crash swiftly or slowly, the beer’s taste and clarity stayed top-notch.
| Test Outcome | Findings |
|---|---|
| Fast Chill | No off-flavors found |
| Slow Chill | No off-flavors found |
Homebrewers, feel free to choose your method. Your beer won’t suffer in taste or look. For tips on fermentation temperatures, check out our homebrew fermentation temperature control and homebrew fermentation temperature management. Cheers to better brewing!
Nailing Cold Crashing for Clearer Homebrew
Cold crashing can make your homebrew shine with crystal clear quality. To get the best results, here’s what you need to know and do, served with a side of good old-fashioned common sense.
Getting It Just Right
Want clear beer? Follow these simple steps:
- When to Crash: Only crash after your brew’s done fermenting. Wait until fermentation is completely finished for the best clarity.
- How Cold?: Drop your beer’s temp quickly to somewhere between 32°F and 35°F (0°C to 1.5°C). This helps the yeast and proteins clump together and sink, clearing up your beer.
- How Long?: About 24 hours should do it. Any longer might be overkill without adding much benefit.
| Condition | Ideal Setting |
|---|---|
| Fermentation Stage | Fully done |
| Temperature | 32°F to 35°F (0°C to 1.5°C) |
| Duration | Around 24 hours |
Troubleshooting Common Issues
Cold crashing isn’t rocket science, but a few things can trip you up. Here’s how to handle them:
- Chill Haze Problems: Sometimes the chill can make your beer cloudy. Fix this by adding some gelatin finings before you bottle. This step clears things up nicely.
- Pressure Drop: Rapid cooling can suck air back into your fermenter through the airlock. Make sure there’s enough CO2 in there to keep the nasties out. Avoid moving the fermenter too much after cold crashing to prevent oxidization.
- Freezing Dangers: It’s a fine line between cold and frozen. Use a fridge with good temperature control to keep things just right.
Stick to these tips, and you’ll be on your way to clearer, better-tasting homebrew. For more handy advice on getting your fermentation temps right, check out our articles on homebrew fermentation temperature control and homebrew fermentation temperature range.