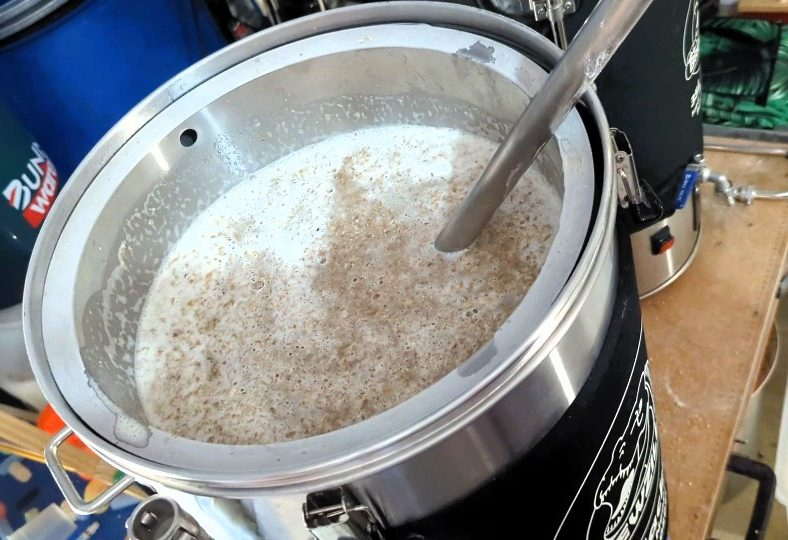
Mashing—it’s not just a dance move from the ’60s, it’s the brewer’s boogie. You start by taking those crushed grains, also known as malt, and you throw them into a hot tub party with water at a cosy 68°C. No cold feet allowed here! Now, while they’re mingling, you’ve got enzymes working overtime, turning those complex carbs into a sweet little number called wort. Think of it as the VIP lounge where all the sugar action happens. And those sugars, like maltose and maltotriose, they’re not just there for the taste—they’re the life of the fermentation fiesta that’s about to kick off.
Why Is Home Brew Mashing Important?
- Sugar Extraction: During mashing, enzymes in the malt convert starches into fermentable sugars. The more sugar extracted, the higher the alcohol content in the final beer.
- Flavour Development: The specific temperature and duration of mashing influence the flavour profile of the beer. Different enzymes activate at different temperatures, affecting the balance of sugars and other compounds.
The Enzymatic Duo: Alpha-amylase and Beta-amylase
Enzymes play a pivotal role in home brew mashing by breaking down complex starch molecules into simpler sugars. Two key enzymes take centre stage during this transformation:
- Alpha-amylase: This enzyme is like a molecular lumberjack, hacking away at the starch chains. It cleaves the long starch molecules into shorter fragments, primarily maltose and some glucose. Think of it as the initial chisel that shapes the beer’s flavour profile.
- Beta-amylase: Picture this enzyme as a precision sculptor. It targets the maltose molecules produced by ?-amylase and further chops them into glucose units. These glucose units are the sweet building blocks that yeast eagerly feast upon during fermentation.
The Dance of Temperature and Time
Home brew mashing is akin to a delicate ballet, where temperature and time pirouette to create the perfect wort. Let’s explore how these factors influence enzymatic activity:
- Temperature: The mash temperature determines which enzyme takes the lead. Here’s the choreography:
- High Temperatures (e.g., 68-70°C): At these warm temperatures, ?-amylase shines. It’s in its sweet spot, diligently breaking down starches into maltose. This results in a full-bodied beer with a rich mouthfeel.
- Lower Temperatures (e.g., 64-70°C): ?-Amylase prefers this cooler range. It’s like a maestro conducting a symphony of glucose production. The outcome? A drier beer with a crisper finish.
- Time: Patience is a virtue in mashing. Enzymes need time to work their magic. Interestingly, a study found that even a 2-hour mash at 55°C (below the gelatinization temperature for most barley starch) extracted a whopping 90% of fermentable sugars from the malt1. So, time does matter.
- Clarity and Body: Proper mashing ensures that proteins are broken down, leading to better beer clarity. It also influences to the mouthfeel and body of the finished product.
- Enzymatic Assays: Researchers have developed novel enzymatic assays to monitor ?-amylase and ?-amylase activities during mashing2. By analyzing different time-temperature profiles, brewers can optimize their mashing process. Imagine shaving off valuable minutes from the mashing cycle while also retaining enzymatic efficiency.
| Profile | Mash In | Protein Rest | Beta-amylase Rest | Alpha-amylase Rest | Mash Out | Samples Taken at min | Total Time Lab/Pilot Scale (min) |
|---|---|---|---|---|---|---|---|
| Original | 55 °C | None | 65 °C, 30 min | 72 °C, 20 min | 78 °C, 1 min | Lab scale: 0, 10, 20, 26, 30, 39, 47, 57, 66, 73 Pilot scale: 0, 2, 7, 17, 23, 27, 36, 39, 48, 57, 60 | 74/61 |
| A | 45 °C | 45 °C, 10 min | 63 °C, 20 min | 72 °C, 5 min | 78 °C, 1 min | 0, 9, 28, 38, 47, 57, 61, 68 | 69 |
| B | 55 °C | 55 °C, 5 min | 63 °C, 30 min | 72 °C, 5 min | 78 °C, 1 min | 0, 4, 13, 28, 42, 52, 56, 63 | 64 |
| C | 55 °C | 55 °C, 5 min | 63 °C, 35 min | None | 78 °C, 1 min | 0, 4, 13, 28, 47, 63 | 64 |
| D | 55 °C | 55 °C, 10 min | 63 °C, 30 min | 72 °C, 5 min | 78 °C, 1 min | 0, 5, 9, 18, 36, 47, 57, 61, 68 | 69 |
| E | 55 °C | 55 °C, 10 min | 63 °C, 35 min | None | 78 °C, 1 min | 0, 5, 9, 18, 33, 52, 68 | 70 |
| F | 50 °C | 50 °C, 5 min | 63 °C, 20 min | 72 °C, 5 min | 78 °C, 1 min | 0, 4, 18, 37, 47, 51, 58 | 59 |
| G/New | 50 °C | 50 °C, 5 min | 63 °C, 20 min | None | 78 °C, 1 min | Lab scale: 0, 4, 18, 37, 53 Pilot scale: 0, 4, 9, 15, 25, 35, 38, 40 | 55/41 |

Home Brew Mashing Techniques
There are various home brew mashing techniques you can apply:
- Infusion Mashing:
- Description: Infusion mashing is the most common method. It involves a single-temperature mash using hot water.
- Process: The crushed grains are mixed with hot water, allowing enzymes to work on starch conversion.
- Result: Clear wort with balanced sugars.
- Temperature-Controlled Mashing:
- Description: In this technique, brewers maintain specific temperature ranges during mashing.
- Process: Different rest temperatures activate specific enzymes, influencing the beer’s flavour.
- Result: Customised flavour profiles.
- Decoction Mashing:
- Description: Decoction mashing is traditional and labour-intensive.
- Process: A portion of the mash is removed, boiled, and returned to raise the overall temperature.
- Result: Rich malt flavours and complexity.
The Science Behind a Stuck Mash
A stuck mash occurs when the grain-water mixture becomes thicker than a medieval castle wall. It’s like trying to paddle a canoe through peanut butter. But how does this happen? Let’s break it down:
- Excessive Malt: Your mash tun isn’t a bottomless pit. Too much malt leads to a dense, unyielding mash. It’s like trying to fit a woolly mammoth into a Mini Cooper – not gunna happen.
- Temperature Tango: Mashing is a delicate dance between enzymes and starches. If your water temperature is too low, the enzymes throw a tantrum and refuse to break down the starches. If it’s too hot, they overheat and pass out. Either way, your mash becomes a sticky mess.
The Homebrewer’s Survival Guide
Fear not, fellow brewer! Here’s how to escape the clutches of a stuck mash:
- Measure Twice, Mash Once: Before you even think about adding malt, measure your strike water temperature. Use a thermometer – not your sixth sense. Aim for that sweet spot around 65°C to 68°C. This is where enzymes high-five starches and get to work.
- Stir Like Your Beer Depends On It: Vigorous stirring is your secret weapon. Channel your inner tornado and break up any malt clumps. Pretend you’re mixing a giant batch of cookie dough. Your mash will thank you.
- Thin It Out: If your mash resembles cement, add hot water in small increments. Think of it as giving your brew a spa day – a warm, relaxing soak to loosen things up. Just don’t overdo it; we’re aiming for oatmeal consistency, not soup.
- Patience, Grasshopper: Sometimes, a stuck mash just needs time. Take a deep breath, sip your favourite brew, and let the enzymes work their magic. Patience is the virtue of the homebrewer.
10 frequently asked questions about the home brew mashing process:
- What is home brew mashing?
- Mashing is a crucial step in the beer brewing process. It involves combining crushed grains (usually malted barley) with hot water to create a sugar-rich liquid called wort. This wort serves as the foundation for the beer.
- Why do we mash?
- Mashing is essential because it converts the starches present in the grains into fermentable sugars. These sugars are then consumed by yeast during fermentation, resulting in alcohol production.
- How long should I mash?
- The typical mashing duration is around one hour. During this time, the grains soak in hot water, allowing enzymatic reactions to occur and convert starches into sugars.
- What temperature should I mash at?
- The ideal mashing temperature depends on the desired beer characteristics. Here are some common temperature ranges:
- Drier beer: Mash at around 148°F (64°C) for 75 minutes.
- Neutral beer: Mash at around 152°F (67°C) for 60 minutes.
- Fuller beer: Mash at around 156°F (69°C) for 40 minutes.
- The ideal mashing temperature depends on the desired beer characteristics. Here are some common temperature ranges:
- What are the different home brew mashing techniques?
- There are several methods:
- Infusion mashing: The most straightforward method, where you add hot water to the grains and maintain a constant temperature.
- Temperature-controlled mashing: Adjusting the temperature during mashing to achieve specific results.
- Decoction mashing: A traditional technique involving removing a portion of the mash, boiling it, and returning it to raise the overall temperature.
- There are several methods:
- How much water should I use for mashing?
- A common ratio is approximately 1.25 quarts (1.18 liters) of water per pound (0.45 kg) of grain. Adjust this based on your recipe and equipment.
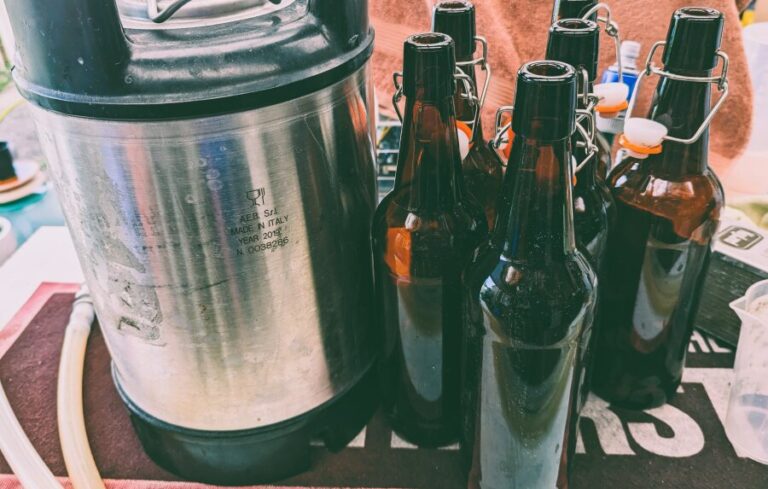
- What equipment do I need for mashing?
- You’ll need a mash tun (a vessel to hold the grains and water), a thermometer, and a way to maintain the desired temperature (such as a heat source or insulated container).
- Can I mash without a dedicated mash tun?
- Yes! Some homebrewers use a large pot or even a cooler as an improvised mash tun. Just ensure good insulation to maintain temperature.
- What happens after mashing?
- Once mashing is complete, you’ll sparge (rinse) the grains with additional hot water to extract all the sugars. The resulting wort is then boiled with hops to create the final beer.
- Any tips for successful home brew mashing?
- Stir the grains as you add them to the water to prevent clumps.
- Use a grain bag if you’re doing a partial mash or using extract brewing.
- Keep track of your mash pH; it affects enzyme activity.
References
- 1. Enzymes for Brewers (VI: Enzyme Activity in the Mash) – https://beerandgardeningjournal.com/enzymes-in-mash/
- 2. Optimization of Beer Brewing by Monitoring ?-Amylase and ?-Amylase Activities during Mashing – https://www.mdpi.com/2306-5710/7/1/13